
Compresso
The Hidden Step in the 2026 AI Video Stack: Compress Before You Upload
Image-first AI video chains create huge PNGs and clips long before Runway or Kling run. Here is what to shrink on disk, what to keep lossless, and how to stop upload time from eating your creative hours.
You finished the still. Four thousand pixels wide, every hair sharp, exported as PNG because you did not want to lose detail.
Then you ran it through an image-to-video model. Then you pulled frames back out for inpainting. Then you uploaded the clip to a cloud editor for one more pass.
None of that felt like creating. It felt like watching an upload bar.
The 2026 AI video stack is great at generation. It is bad at telling you what to do with the huge files between steps. Upload wait time, storage warnings, and failed transfers hit you before the model sees your pixels.
That step is not flashy. It is basic file cleanup. Skip it and you lose time and money on every project.
Your stack is a chain of exports
Most people are not "making a video in Runway." They are chaining tools:
- Still or keyframe (Photoshop, Figma, Midjourney export, photo plate)
- Motion pass (Kling, Runway Gen-3, Pika, local Wan/I2V in ComfyUI)
- Fix pass (frame inpaint, face restore, upscale)
- Edit pass (CapCut, Premiere, DaVinci)
- Delivery (YouTube, ads, client review link)
Each handoff creates a new file. Often a new huge file.
Image-first workflows hurt the most. You start with a still, not a timeline. Every step treats that still like a master, so people export PNG or TIFF "just in case." One 3840×2160 PNG is often 20 to 30 MB on disk. Ten variants for one scene? Hundreds of megabytes before you get one second of motion.
The tools got faster. File cleanup did not.

Upload time costs you on every cloud step
Cloud AI tools charge credits. Your home internet charges minutes per gigabyte.
Rough math: a 500 MB clip on a 35 Mbps upload (common on home cable) takes about two minutes to upload if nothing breaks. Add Wi-Fi drops, VPN, and the tool's own ingest queue and it gets worse.
Now multiply by retries. Take three. A failed job you send again. A folder of img2vid tests. Four uploads at three minutes each is twelve minutes of progress bars before generation even starts.
The model is probably fine. Your files are too fat.
Platforms also cap file size, length, and resolution. Those limits change. When your export is over the cap, you get a failed upload at 2 a.m., not a helpful hint. You rarely need a faster GPU. You need a smaller file that still looks good enough for the next step.
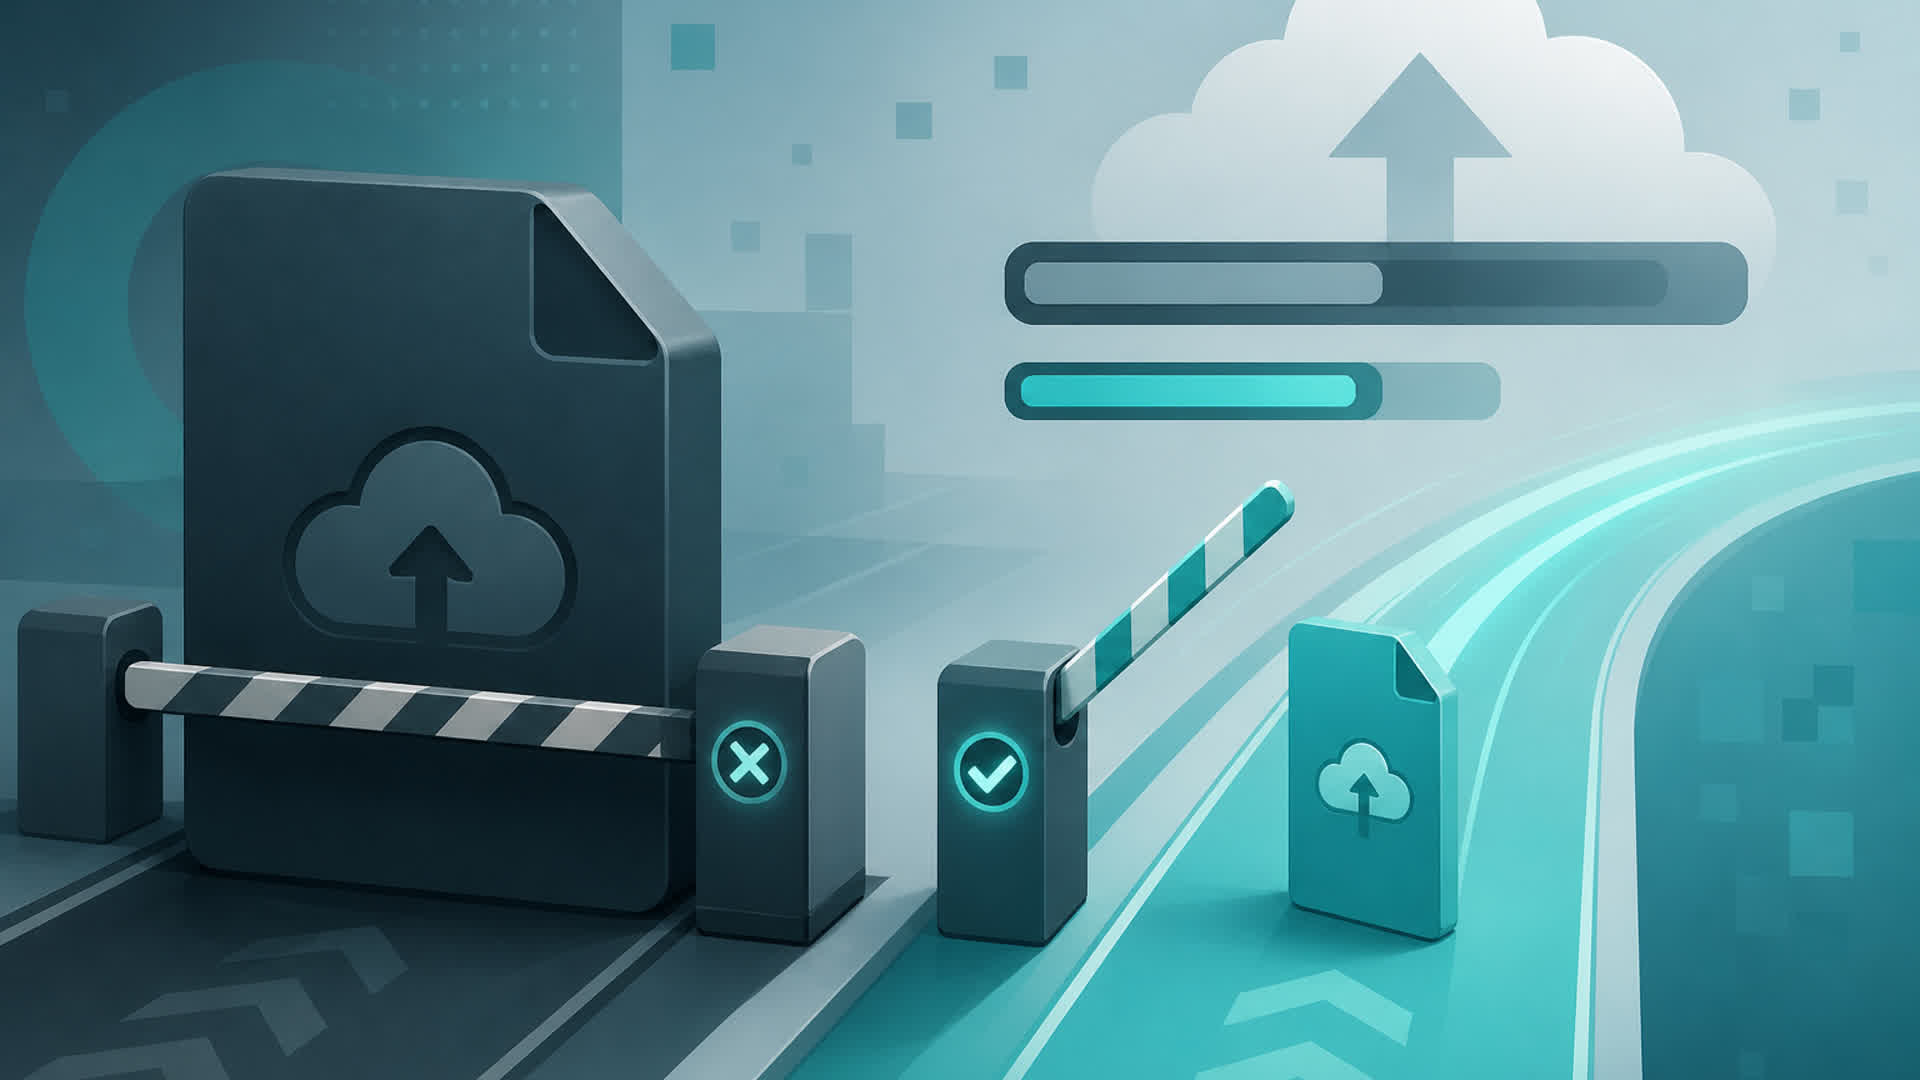
Use three buckets before you change settings
Compression feels scary when every file feels precious. It should not.
Sort files into three buckets:
1. Masters (keep big, keep safe)
Project files, RAW or high-bit stills, graded finals you might re-cut, audio stems, timeline exports you might open again in six months. Store these. Back them up. Do not upload these to a cloud img2vid tool by default.
2. AI inputs (shrink on purpose)
What the next model needs: right resolution, clean edges, stable framing. Make these small and fast to upload. They are not archives.
3. Delivery exports (shrink for people)
Client previews, social cuts, review links. The goal is "looks good on their phone," not "save every pixel forever."
If you cannot name the bucket, do not compress the file yet. Wrong bucket wastes quality or wastes your afternoon.
Keep masters lossless when you might need them later
Keep high-quality sources when:
- You might re-grade, re-frame, or replace VFX later
- The file is your only copy of generated detail (upscale output, multi-pass composite)
- A client paid for maximum flexibility later
Formats that work: PNG or TIFF for still masters you will edit again; ProRes or high-bit H.264 for video masters on a fast drive.
Masters stay on your drive, not in a tool's temp folder.
Shrink AI inputs before the next model
AI inputs are not masters. They are fuel. Extra resolution mostly burns upload time.
Stills for image-to-video
- Match the resolution in the tool docs. If they say 1080p works best, 8K export often does not help and can hurt consistency.
- Use JPEG or WebP around quality 85 to 92 instead of PNG for uploads, unless you need alpha. A 3840×2160 PNG at ~25 MB can become 2 to 4 MB as JPEG with little visible loss at generation size.
- Keep one lossless still per hero frame in your master folder. Upload the smaller copy.
Frame sequences and ComfyUI folders
A 120-frame PNG sequence at 2 MB per frame is ~240 MB per pass. Painful to sync, zip, or re-run.
- Inside a local graph: JPEG sequence or a light H.264 preview is enough to check motion.
- Before a cloud handoff: batch-convert or render H.264 MP4 at CRF 18 to 20 if the tool takes video. CRF 23 is enough for most hops between AI tools when you are not grading color next.
Clips between cloud tools
- Trim dead frames at the start and end.
- Drop audio if the next step is video only.
- Use H.264 or H.265 with a sane CRF. Do not send ProRes to a web uploader unless they ask for it.
If the next step is another AI model, compress harder. You already saved a master.
Quick format picks
- Cloud img2vid (Runway, Kling, etc.): stills as JPEG/WebP ~85 to 92 at max res from their docs; motion as H.264 MP4, CRF 18 to 23, trimmed
- Local ComfyUI graph: PNG master on disk, JPEG previews in the graph; short H.264 preview unless a node needs a sequence
- NLE finish: TIFF/PNG stills; ProRes or high-bit H.264 mezzanine for video
- Client review: H.264, 1080p or 720p, CRF 23 to 28
Check the tool's upload page before you batch fifty files. A 2 GB cap and a 200 MB cap need different settings.
How fast disk use adds up
A "small" AI project can eat gigabytes without feeling like a full shoot.
Example, rounded:
- 12 hero stills at 25 MB PNG each → ~300 MB
- 4 motion variants per still at 80 MB MP4 → ~1.3 GB
- Frame dumps for two inpaint fixes (90 frames × 3 MB PNG) → ~540 MB
- One graded master ProRes → ~2 to 8 GB depending on length
Tools export big files by default because big files cause fewer support tickets about soft uploads.
Let masters grow. Keep ai-in small enough to zip without panic.
Do not wreck quality the model needs
Smaller files are good. Broken files are not. Models read edges and motion. Crush those and you get mushy limbs and crawling backgrounds.
Rules:
- Do not upscale before upload to "help" the model. Upscale after you like the motion.
- Do not use heavy JPEG on tiny text or thin lines if the next pass is inpaint-heavy. Use PNG for that asset or raise quality.
- Watch color banding on keyed stills if the next tool keys on hue.
- Blocky faces at full screen rarely fix themselves in step two.
If it looks bad before upload, the API will not save it.
Compress on the same machine as ComfyUI
A common 2026 stack: ComfyUI on your PC, then a hosted generator, then an NLE.
You have offline GPU work and online upload. Do not use a random browser compressor in between and upload everything twice.
You want a local pass that:
- Batch-processes a folder of stills or clips
- Keeps folder structure when you have dozens of takes
- Never sends files to another cloud just to shave megabytes
That is the boring step between "export from node 47" and "open Runway." Same machine. Same drive.
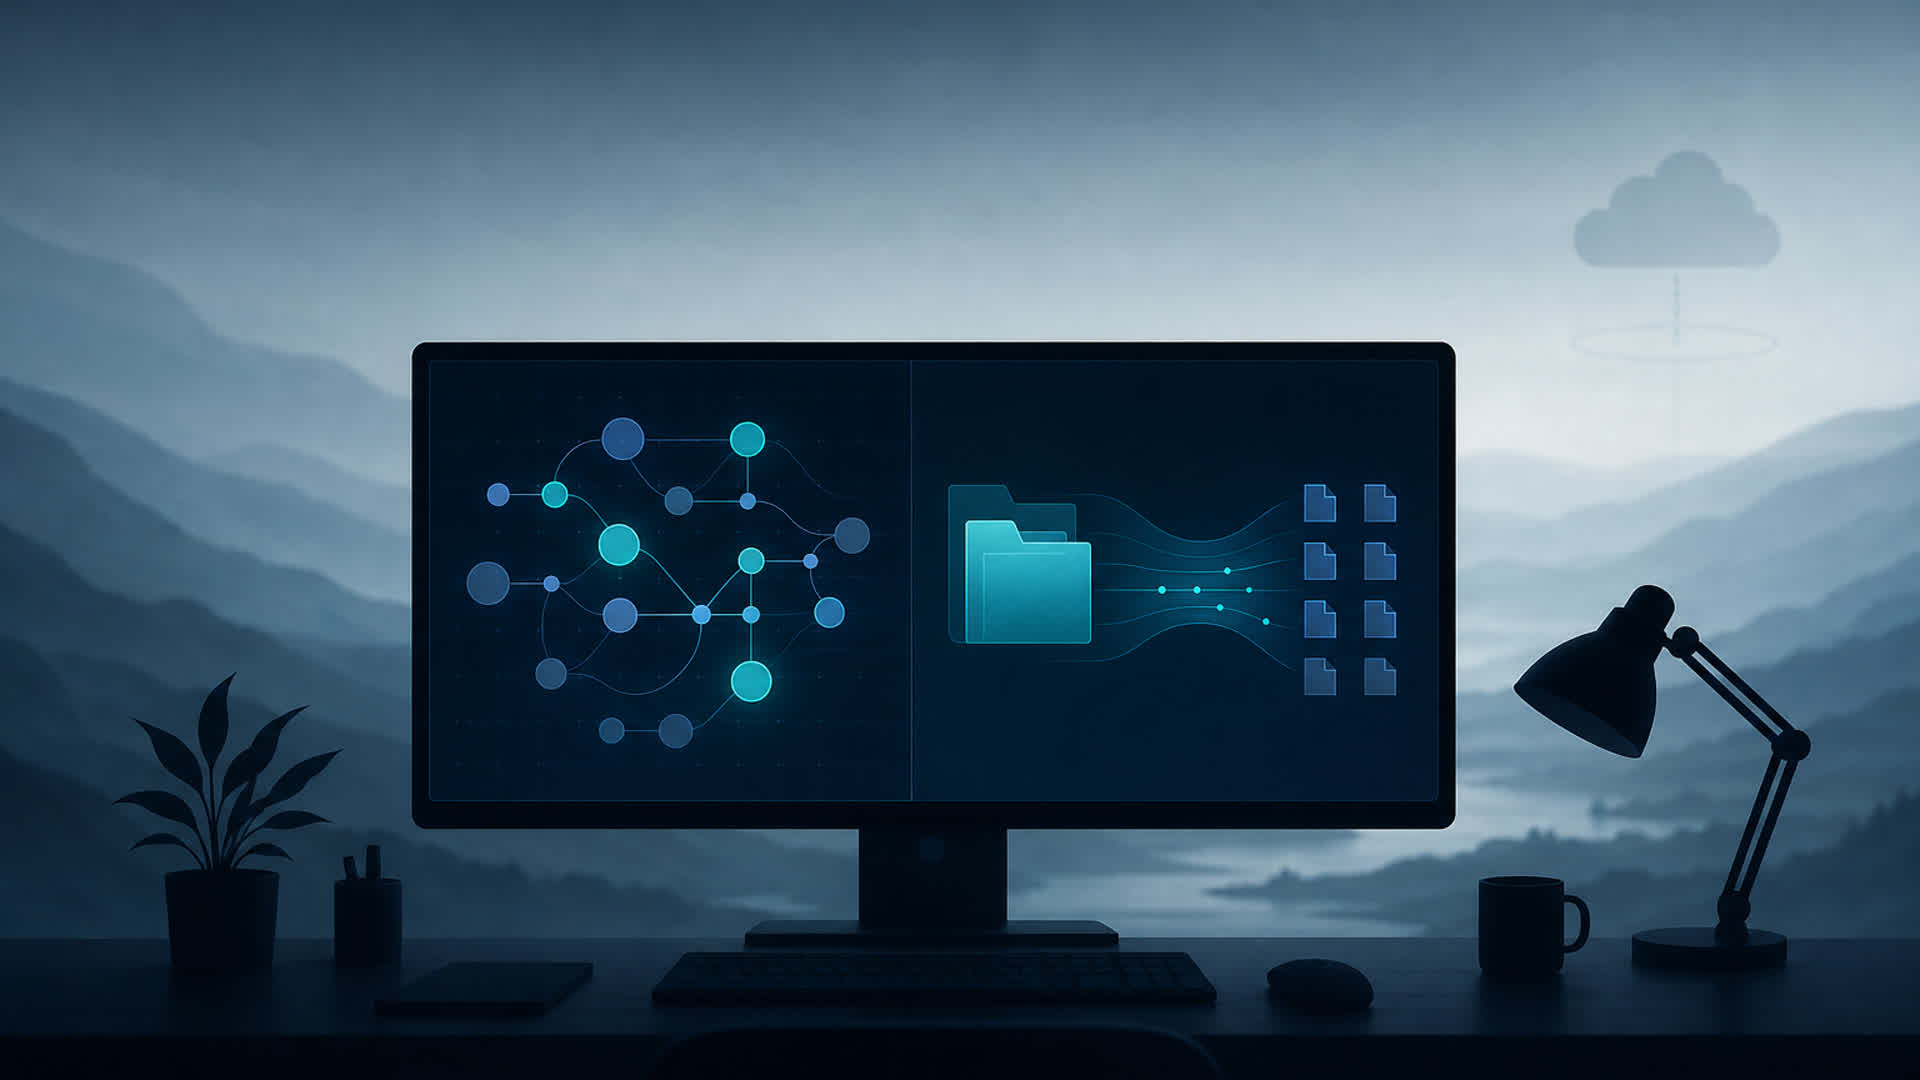
Compresso does this offline on the box that already runs your graphs. Drag a folder of PNG stills, get lighter JPEGs in a parallel tree. Folder mode matters when you have forty almost-good takes, not one file.
Repeat this workflow
- Export master to
project/masters/(PNG/TIFF/ProRes as needed). - Make smaller copies in
project/ai-in/(resized, compressed, named by step:scene03_kling_in.jpg). - Upload only from
ai-in/. Never from masters. - Download cloud output to
project/ai-out/. - Compress for edit if the NLE struggles. Keep
ai-outuntil you confirm the take. - Export delivery from the timeline, not from raw model dumps.
Name files clearly. Future you will thank you.
Treat each upload like a small API call: one job, one file size, one purpose.
Skip online compressors for AI intermediates
Free online compressors add upload and download on files that were already too big. You fixed nothing and added two trips.
For client plates, faces, or unreleased work, compress locally. You want the next model running, not another website holding your files.
Your inpaint plates should not visit someone else's server just to drop 40% of their size.
Bottom line
The hidden step in the 2026 AI video stack is not a new model. It is sorting files and compressing between steps.
Keep masters on your drive. Send AI inputs at the size the next tool expects. Export delivery files for people, not for GPUs.
Always compress before you upload because your time matters more than sending a 500 MB file when a 40 MB file would have worked.
If the stack feels slow, check file sizes between tools before you change prompts.
When you want to clean a folder of stills or B-roll between AI passes on the same machine, try Compresso on your ai-in folder, not your archive.

Written by Lovish Jain
Building products to help you move faster. Follow me for updates and tips.